Help Center
Accuracy-style data collection method
Accuracy-style data collection method
➕
Data Collection
The Accuracy Style method is versatile, providing users with ultimate control over how data is collected, whether through detailed tracking or quick, efficient edits. Here’s how users interact with this feature:
Entering the Data Collection Session
Click “Track Data”: Begin by selecting the Track Data option from the Student Goal Dashboard or Calendar.
Data Collection Interface: Once inside, you’ll see the tools available for tracking data.
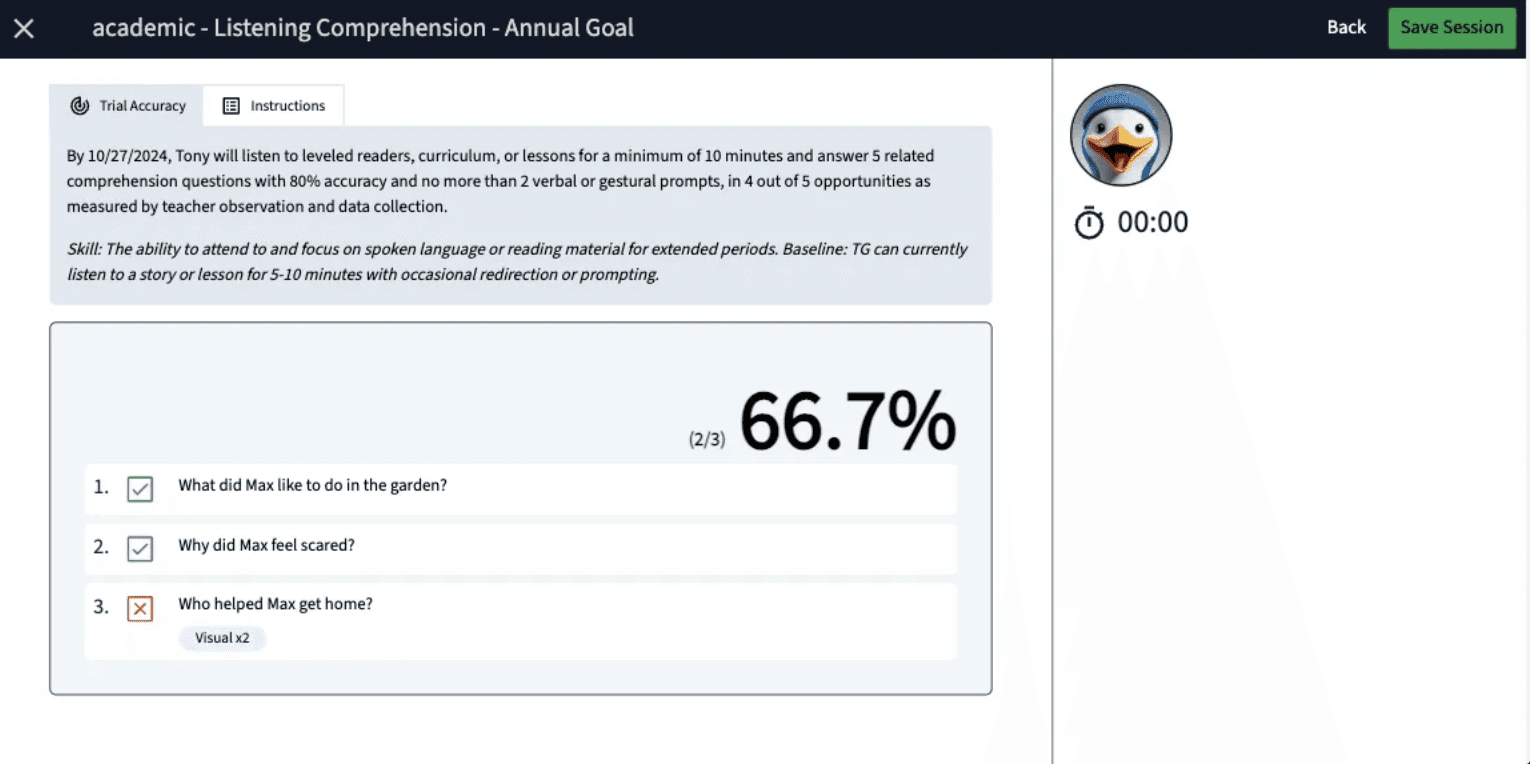
Features in the Accuracy Style Interface

1. Mark Correct or Incorrect (Left-Hand Side)
Select whether the student’s response was Correct or Incorrect for each trial.
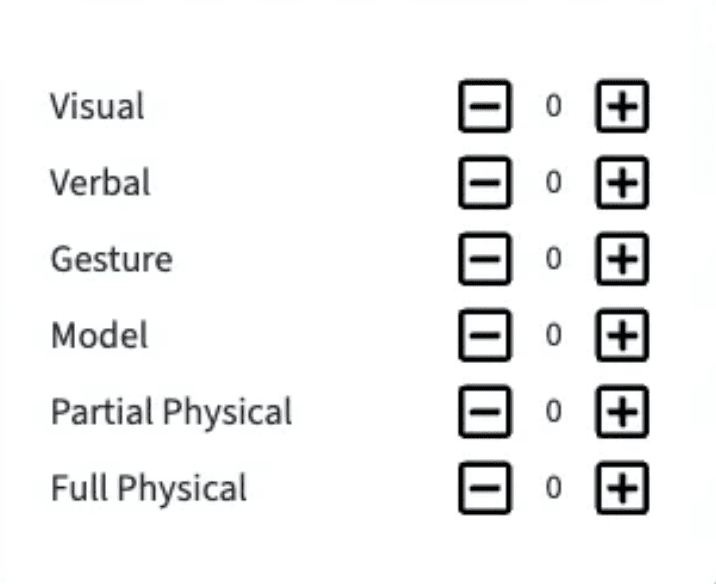
For added context, you can:
Select the type of prompt used and record the number of prompts required.
Add notes specific to each trial to provide detailed observations.
2. Add New Trial
Click Add New Trial to record additional responses.
You can add as many trials as needed during the session.
3. Quick Edit (Pro Tip)
If you’re short on time, use the Quick Edit feature to input the percent accuracy directly without marking each response as correct or incorrect. This provides a fast, flexible option for busy sessions.

4. Instructions Tab

View the instructions for the session, which are pulled from the Student Goal Dashboard. This ensures the entire team stays aligned on goal-specific strategies and expectations.
5. Set Event Date
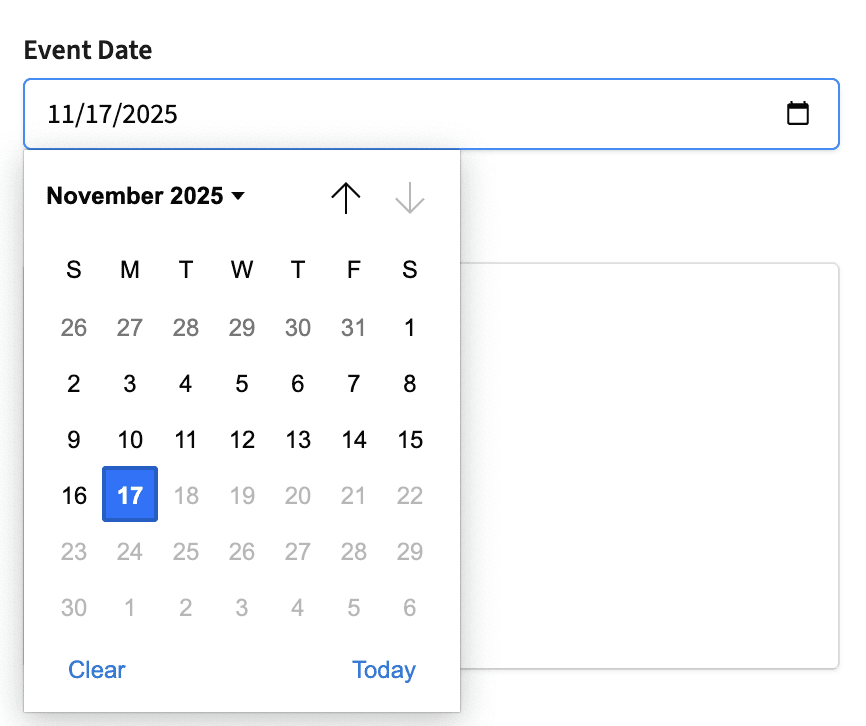
Entering session retroactively is 100% okay. Just pick the day!
6. Session Notes Section

Add overall notes for the session to provide additional context or observations.
7. Timer Feature

Use the built-in timer to track how long the session lasts, if needed.
8. Photo Feature

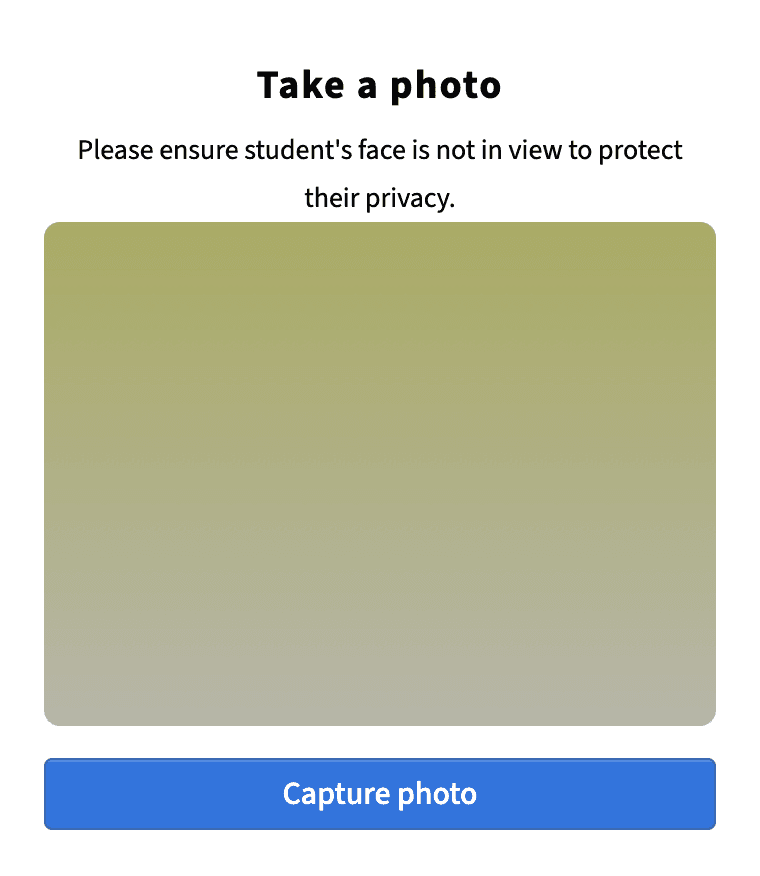
Take and upload photos of any student work or assets for added documentation.
Record data for the current day or enter a retroactive date if needed.
Completing the Session
1. Goal Session Summary
After clicking Next, you’ll be taken to the Goal Session Summary screen.
Review all session data, including trial results, notes, and additional context.
Make any necessary edits before saving.
2. Save and Log Data
Once you press Save, the session is automatically logged into the student’s Goal Report, ensuring accurate and up-to-date records.